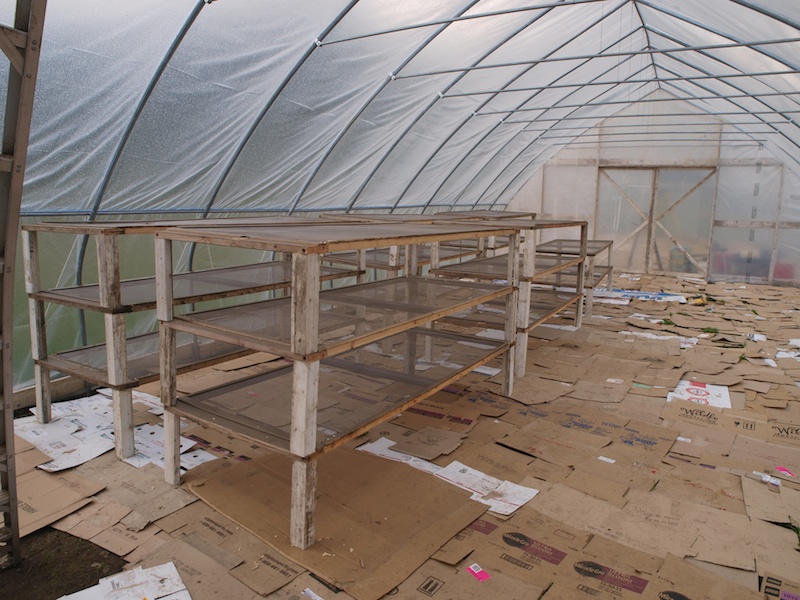
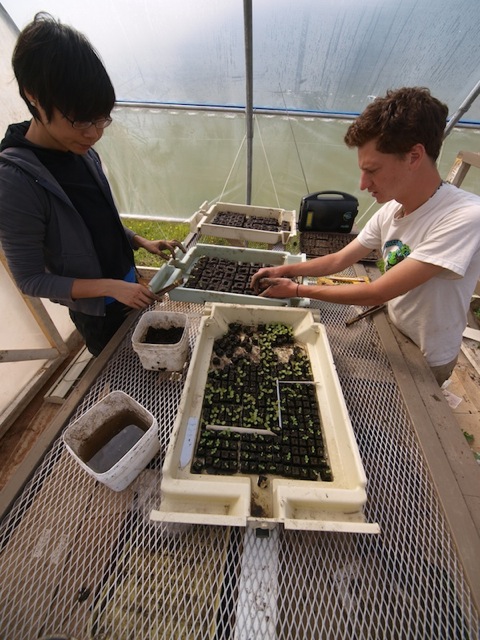
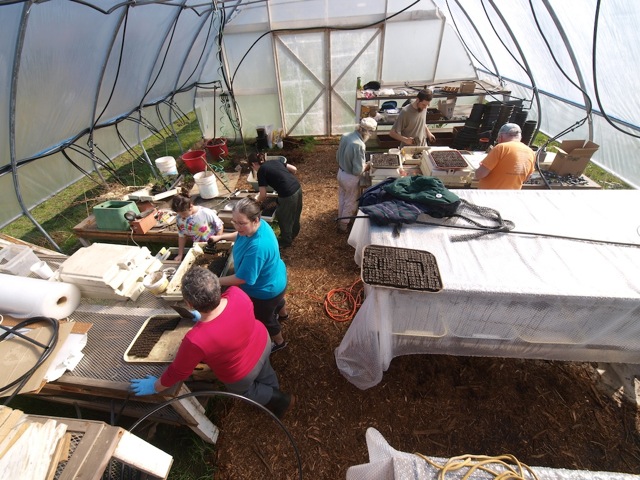
I am a farmer and I want a tool to elevate greenhouse starts for easy access without buying expensive greenhouse tables. because my back hurts working on the ground, or even on low greenhouse tables!
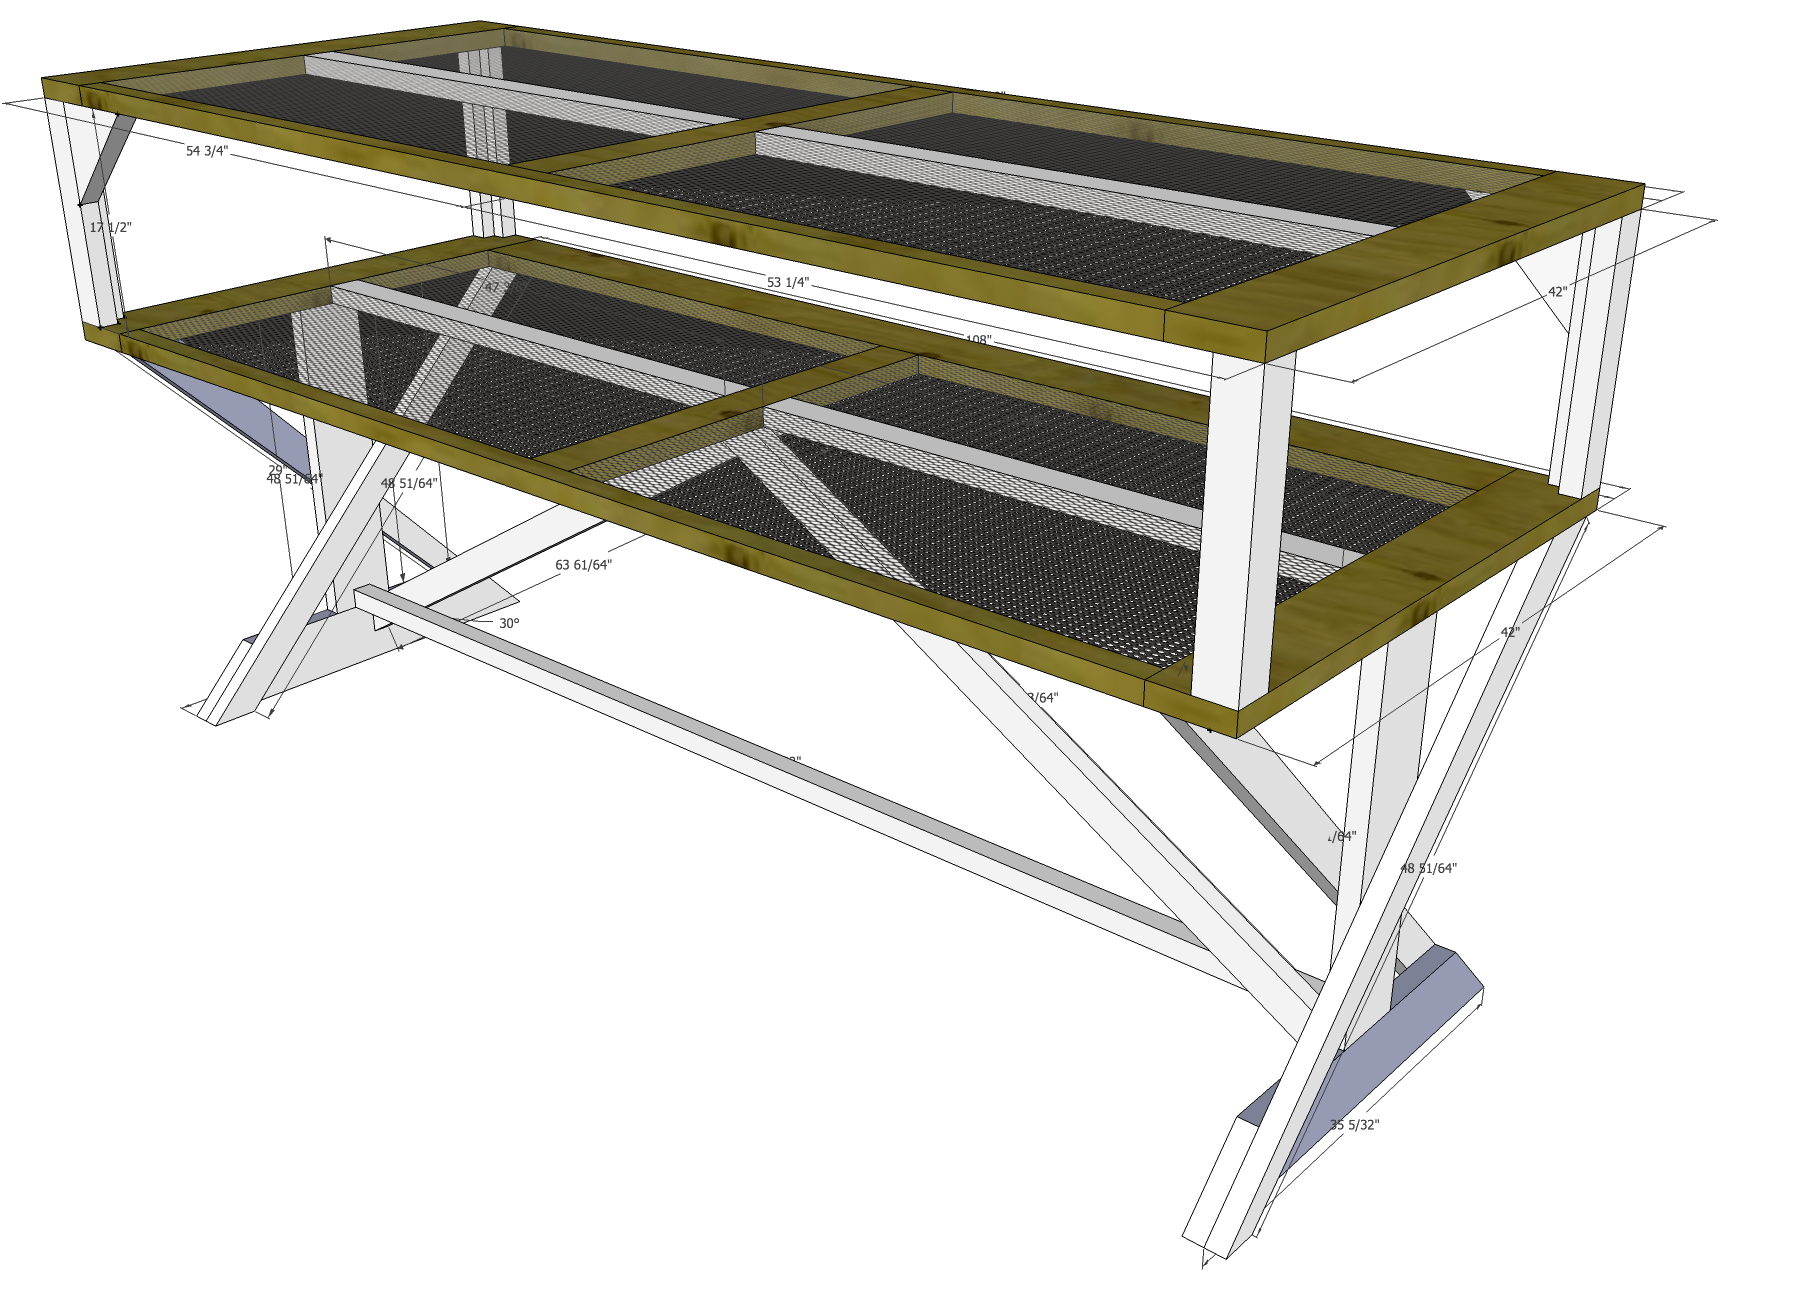
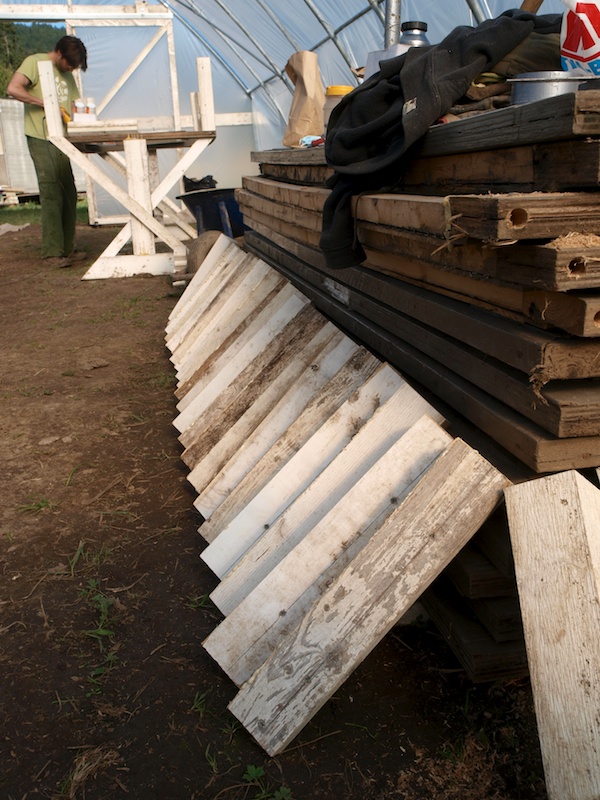
Greenhouse tables are expensive, and we blew our budget on the greenhouse itself. But we did have a stack of painted 2x6 lumber, recovered when we replaced the useless horse fence that came with the place with deer fence.

Rename the file "Greenhouse Table.skp_.txt" to "Greenhouse Table.skp" for a SketchUp Model that can be rotated, modified, etc. using the free SketchUp software. (You really should allow SketchUp ".SKP" models to be uploaded.)
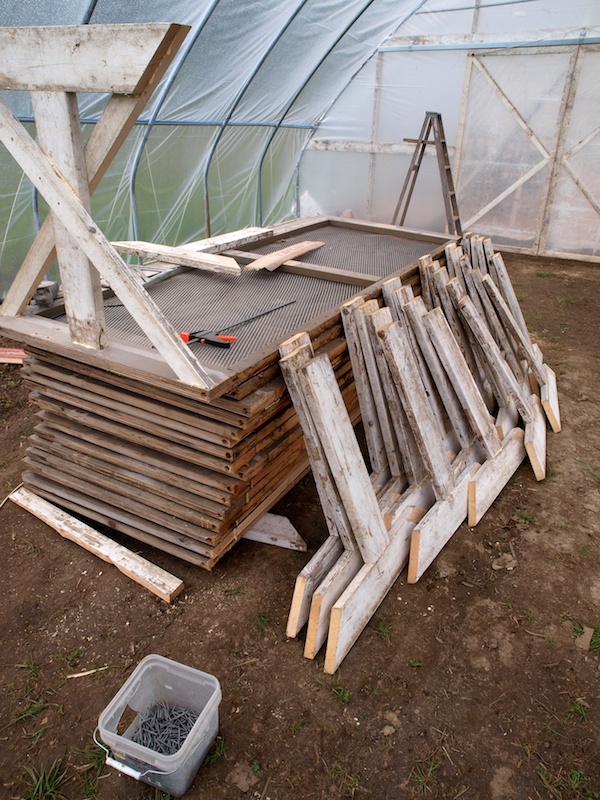
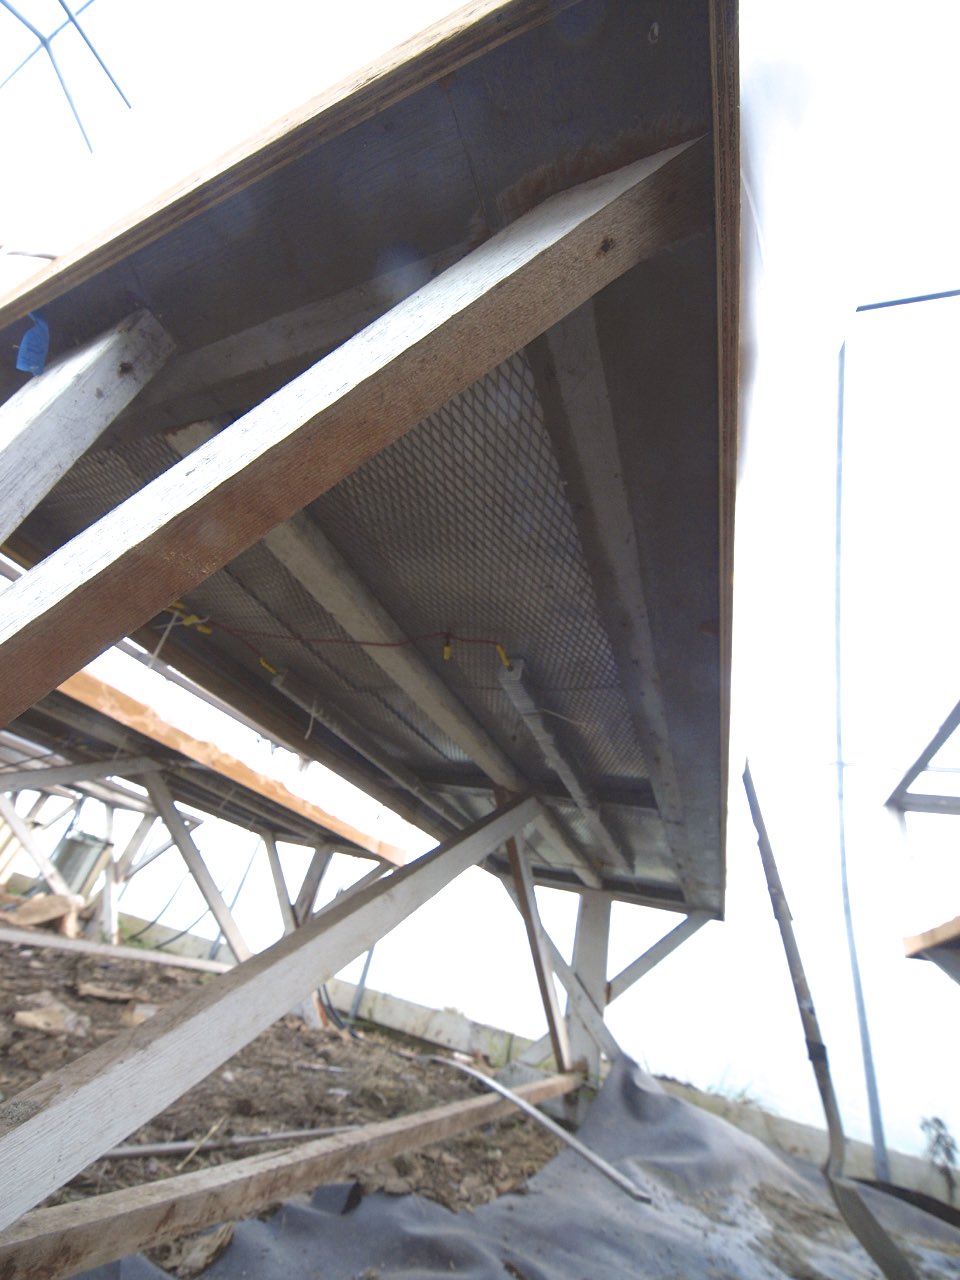
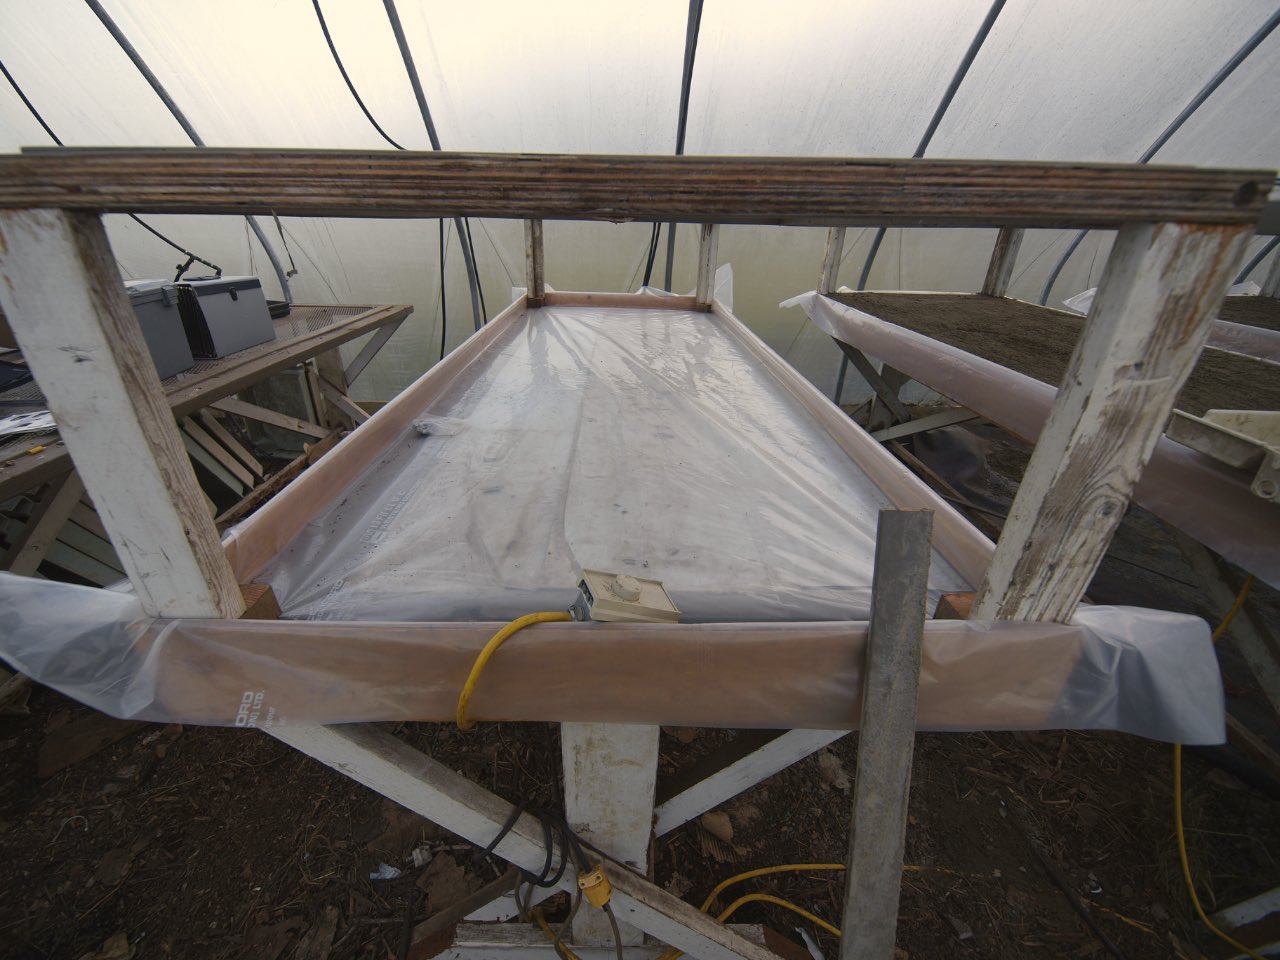
Construction of the pedestals is from painted 2x6 stock, salvaged from a fence. Diagonal struts are 2x6 stock ripped in half; bottom tension strut is 2x6 ripped into thirds.
Tables are assembled using polyurethane glue, clamped together, then screwed together with coated 3" deck screws.
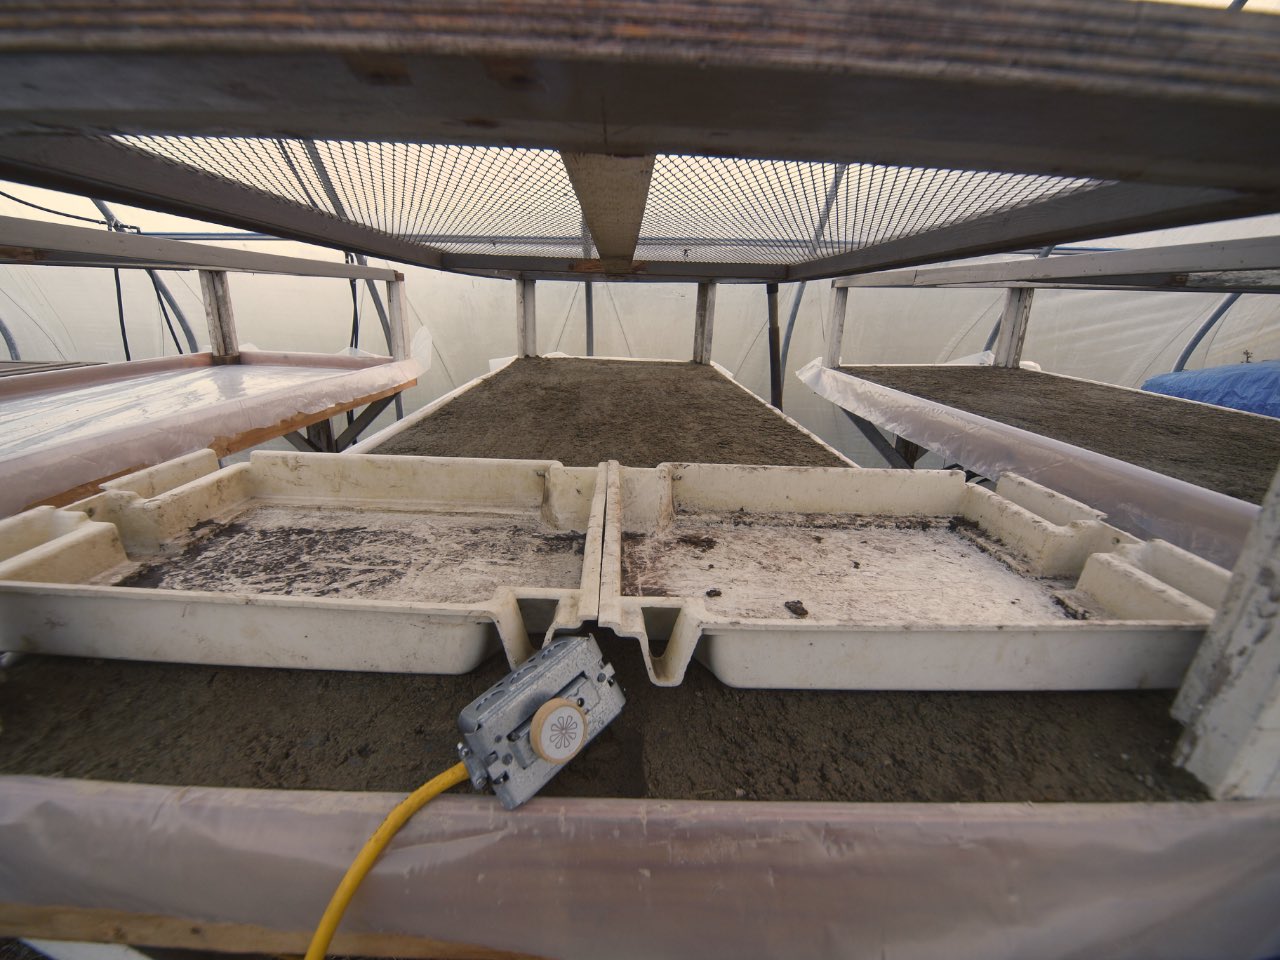
Heated tables have a 3" "bathtub" made from 3/8" plywood and poly film. The bathtubs are then filled with clean sand, and saturated with water.
Disassembled 5kW baseboard heater elements are attached to the bottom. Two are wired in series through a standard baseboard heater thermostat, and when run on 120 VAC, each table consumes only about 625 watts. Three tables won't "fit" in a standard 15 amp circuit, so we then put two of the tables in series, reducing their load to about 300 watts each, so all three tables and some grow lamps can run on one 15 amp circuit.
The toppers are then draped in plastic. Water from the saturated sand condenses on the plastic and "rains" back down on the plants, reducing the need for hand watering.
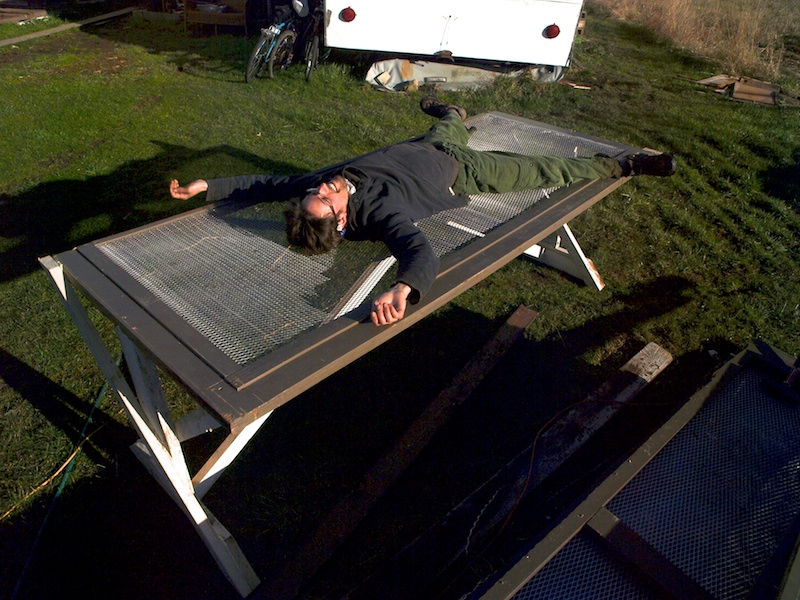
Each heated table weighs over 400 kg! This would not be possible with conventional table legs, but there is no sign of strain with the pedestal design.
Test
Attached files
You need to be confident with a table saw and mitre gauge, and general wood shop tools and techniques.
You need to be confident with electrical wiring.